Tutorial: Painting Alla Prima with Corel Painter
Alla prima is Italian for “at once,” and it refers to the style of oil painting known as direct painting. As one website puts it, “Alla prima refers to a method by which the artist applies each stroke of paint to the canvas with the intention of letting it stand in the picture as part of the final statement. There is to be no retouching or overpainting after the first layer of paint has dried.” Usually an alla prima painting is executed in a single session (”at once”), though that’s no strictly the case. What defines alla prima is the bold application of color, usually mixed on the palette. Due to the oil medium’s viscosity, edges are fluid and indefinite. As painter Scott Burdick says, “The main advantage of this approach is that it keeps you from painting up to lines and ending up with stale brushwork.” In alla prima, the artist begins by defining the large shapes first, “blocking them in.” Gradually smaller shapes and details are worked in. You can see an excellent step-by-step demonstration of alla prima painting by Scott Burdick here. Burdick works without a net, in that he does not begin with a detailed drawing; he “draws” with his brush. Today we’ll look at how you can bring a fresh alla prima approach to your paintings in Corel Painter.
And here are two landscapes for comparison. The first is by contemporary artist Richard Schmid, the second once again by Maxfield Parrish. Here, the difference in approach is more obvious. In Schmid’s work, the hand of the artist is very much part of the work; in Parrish’s work, it’s nearly invisible.
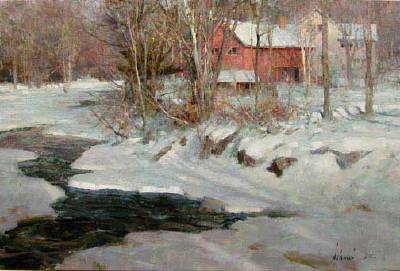
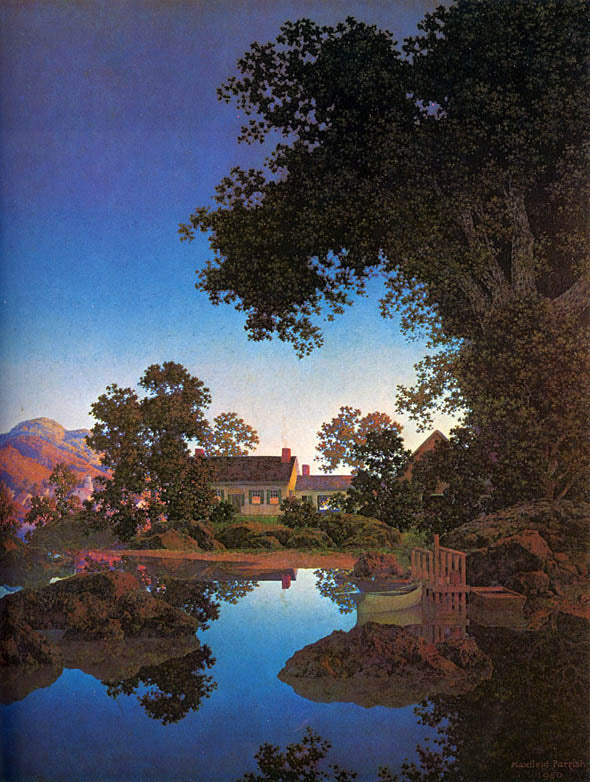
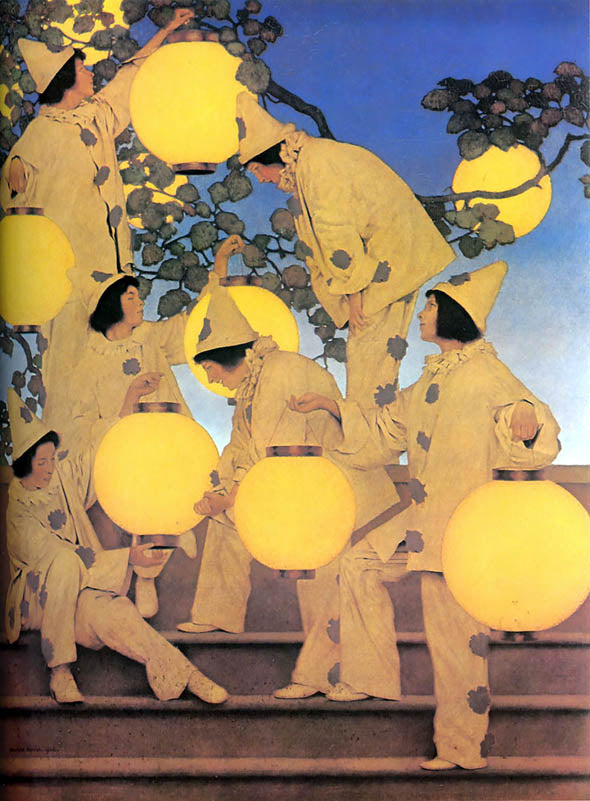
Maxfield Parrish achieved his jewel-like colors by employing many layers of pigment, each sealed by a layer of varnish. He used colors straight from the tube, allowing the transparent glazes to optically mix, much like in a watercolor. It was a very time-consuming process, since it required drying time between layers of paint and varnish. The alla prima method, on the other hand, is fast. To emulate Parrish’s method using Corel Painter, you would use (obviously) layers, and just skip the varnish! In a future tutorial, we’ll take a look at how to do a master-copy of Parrish’s work using Corel Painter. To emulate Schmid’s alla prima technique in Painter, you would stick to a single layer (the Canvas), and mix your colors using the Mixer palette.
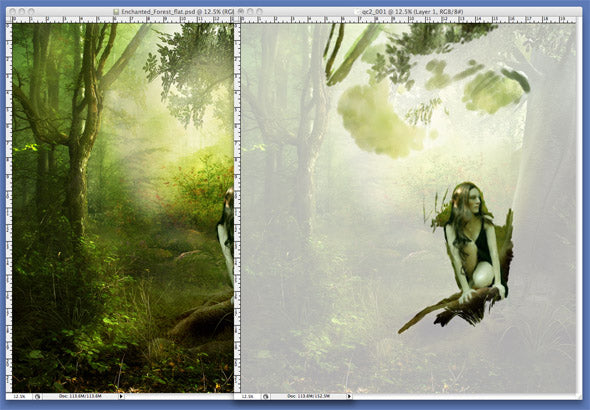
That’s all pretty obvious stuff, I suppose, but what if you wanted to use color cloning? Can you get that fresh, loose look while cloning? The answer is yes, and the trick is to use Quick Clone. When I’m working on a portrait that needs to look “painterly,” I usually begin with a blank canvas, and pull the color from the original image onto the canvas. I don’t use the Clone brushes, usually, since they will pull in too much detail, and that’s not the look I’m after. To begin, open your file in Painter, and then go File > Quick Clone. In the upper right corner you’ll see a drop-down that allows you to adjust the transparency of the tracing paper. To make sure the tracing paper is turned on, go CMD+T(Mac) or CTL+T(Windows). This is a toggle, that will turn it on and off. In the screen shot below, I’ve got the clone open and positioned above the original, and I’m selecting 80% opacity for my tracing paper.
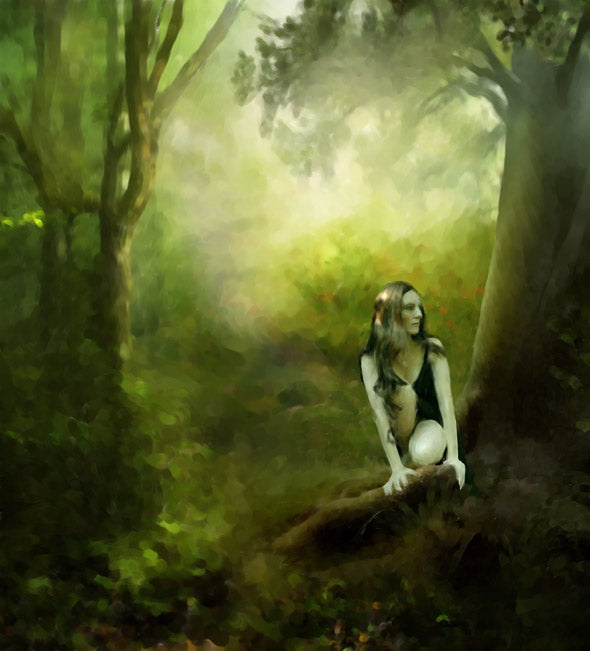
Taking my time and being somewhat careful, one hour later I have the following image. You could, at this point, use a Soft Cloner at low opacity to bring out some of the foliage details, and refine the figure. Just don’t get carried away, or it’ll turn back into a photograph! I hope this quick exercise gives you ideas for new approaches to your painting. Let us know how you do!

You can use any brush you like to begin “blocking in” the color. For this example, I’ll use the Acrylics variant Captured Bristle. Set it to 90% opacity, 50% resat, and a good firm stroke to bring in the color. Leaving the tracing paper turned on, but faint (like around 80%) allows you to stroke along the forms in the image, such as the figure and the tree branches. For areas with lots of small detail, look for the larger forms that contain those details. Use a big brush, like size 60 or greater. (If your image is small, 60 may be too big.)
Taking my time and being somewhat careful, one hour later I have the following image. You could, at this point, use a Soft Cloner at low opacity to bring out some of the foliage details, and refine the figure. Just don’t get carried away, or it’ll turn back into a photograph! I hope this quick exercise gives you ideas for new approaches to your painting. Let us know how you do!